Jar2Exe #2: Wrap JAR and JRE Together
| Part 1 | Creating Custom Runtime Image |
|---|
Introduction
In the last post I showed how to generate a custom runtime image. This tutorial will allow you to pack the result of your recent work with the application (JAR) into one EXE file. Thanks to that, a portable version will be created, ensuring the launch of your program on computers without JDK and JRE installed.
Launch4j
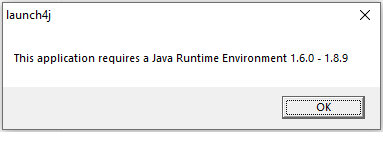
The tool that will allow you to create an executable application on Windows is called Launch4j (download here). To run this cross-platform executable wrapper you need Java Runtime Environment 1.6.0 - 1.8.9, so if the correct version have not installed on computer, you must do it.

Remember also about the right order in the environment variables, thus ensuring program launch using the correct JRE. In case of any problems I refer you to my post on a similar topic.
Getting Started
The first step will be to create two directories: “app” containing “bin”. Then the previously generated custom runtime image (called “jre”) will be moved to the “bin” along with the JAR file. In addition, you can paste an ICO image if you want to change the icon of your application.
The “app” directory tree will look like this:

Note!
If you follow my previous post, “jre” also has the same JAR file, so delete it.
Create EXE
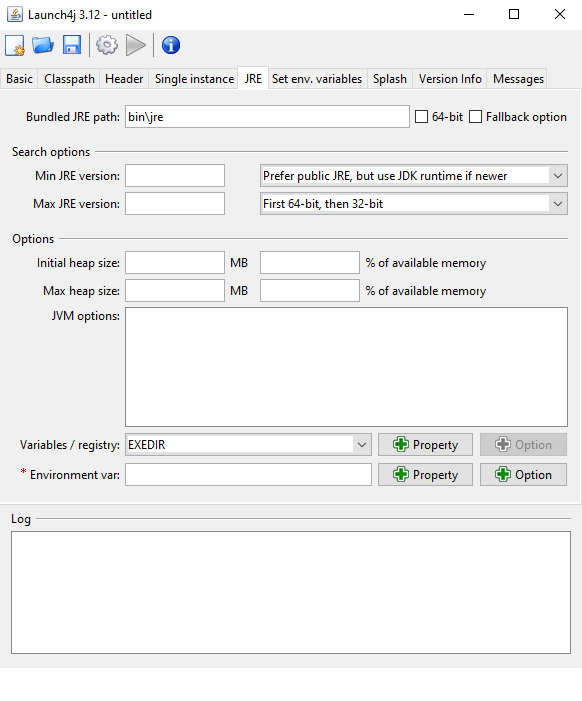
Run Launch4j and fill in the appropriate fields:
- output file
- jar
- icon (optionally)

- bundled JRE path (note the lack of “\” at the beginning)
- “64-bit” checkbox (optionally)

Now press “build wrapper” and name the configuration file.

If all goes well, delete the unnecessary JAR and CFG files. The “app” directory is a portable version of the application that can be run on other computers.


Leave a comment